

Welcome To The Angela Holt Designs
Creative Design Team Blog Hop
Featuring Graphic 45... and Twelve Days of Christmas Collection
If you have came from Angela's Blog you are in the right place.

Graphic 45 is an award-winning scrapbook & paper crafting
company offering vintage inspired crafting products,
papers, embellishments & boxes.
~~**~~**~~**~~
Along with Graphic 45 for my project I have also used...

Etchall etching crème is a re-usable crème that produces
a white opaque, permanent etched finish on glass, mirror,
ceramic, porcelain, marble and slate.
~~**~~**~~**~~
Now onto my project...
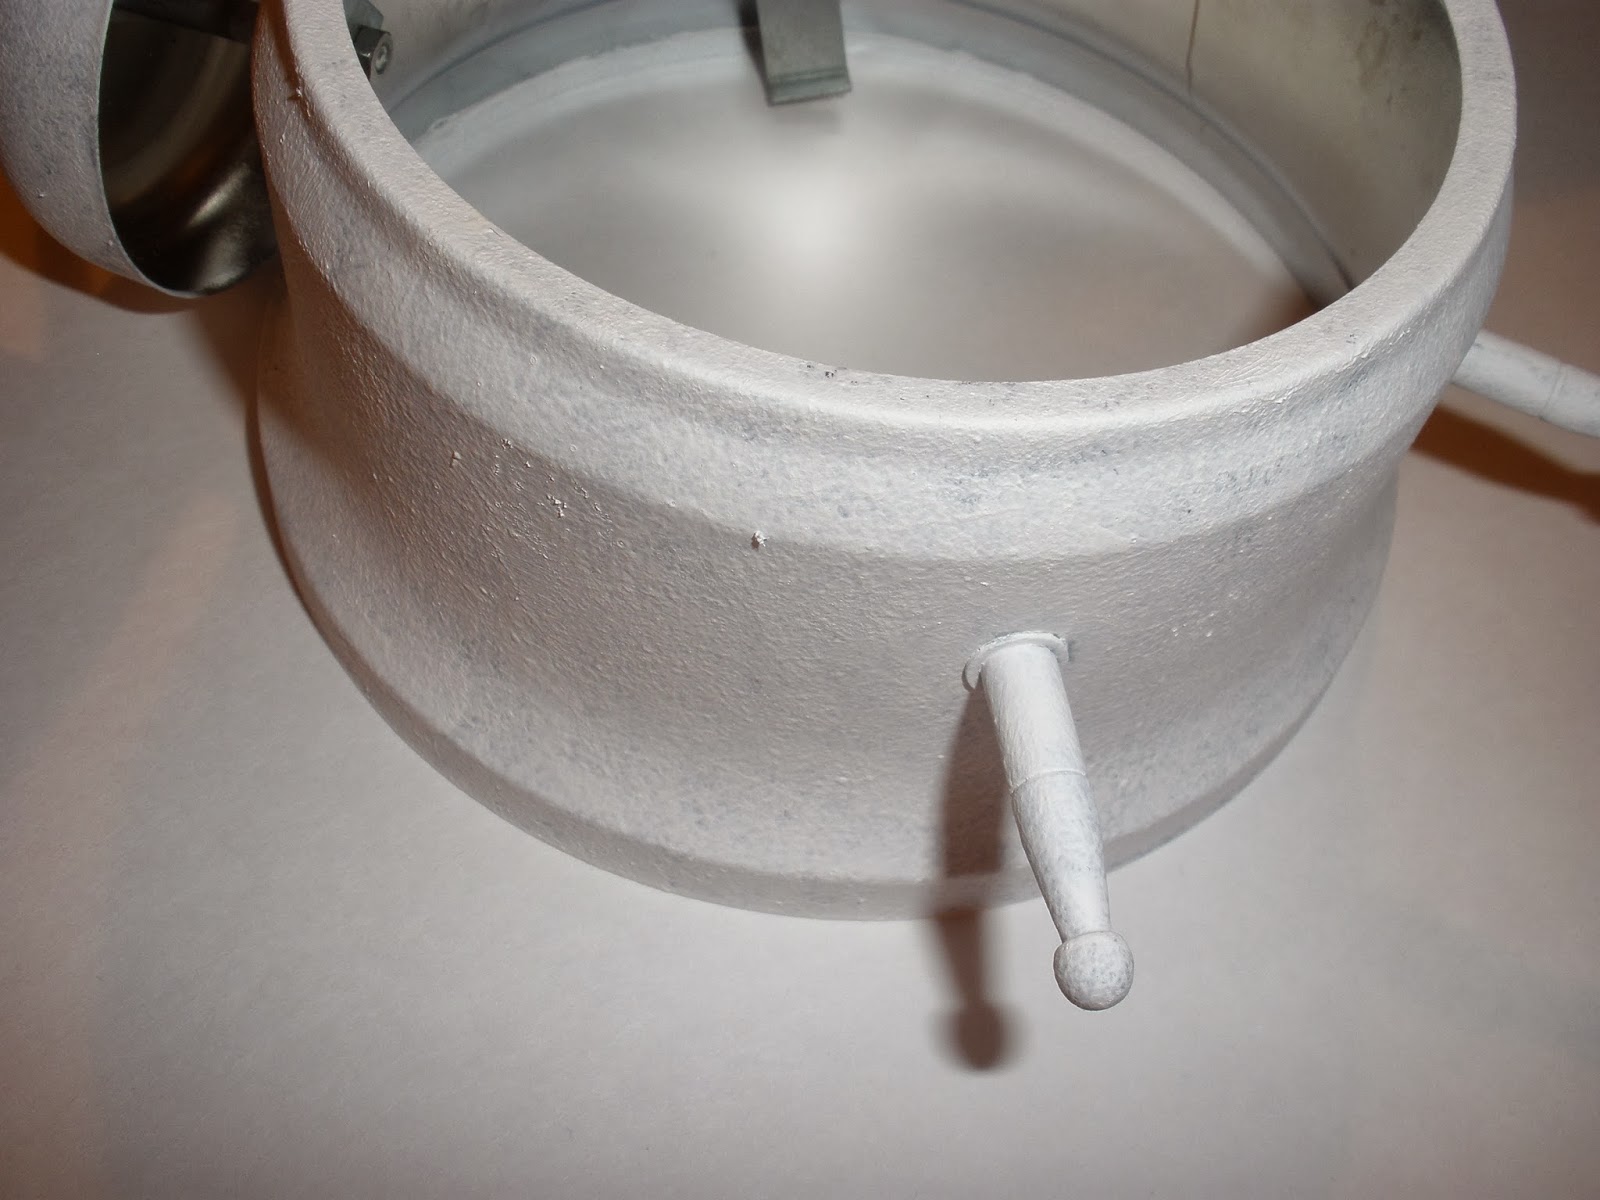
I have used the Tim Holtz idea-ology Assemblage Clock and created a cute Christmas table decoration with Graphic 45's BEAUTIFUL Twelve Days of Christmas Collection. A tutorial on the etching using Etchall and lots of awesome items from Angela's Shabby Chic Kits.
First I began with cutting out MERRY CHRISTMAS using vinyl for my letters


~~**~~**~~**~~
Next I positioned it where I wanted it on the glass before removing it
from the clockI worked it to get it adhered to glass REALLY good...
I don't want to get any etchall where I don't want it and you apply it on THICK using the etcall spatual to work the bubbles out. Angela described it best you want it on thick like peanut butter...lol!.. once applied you leave it to set for 15 minutes!!!...


~~**~~**~~**~~
Next the great thing about this product... you can reuse it,
so I scooped up the excess and returned it back to the bottle!


~~**~~**~~**~~
Then I rinsed it off... I like to re-rinse too after I remove the vinyl.


~~**~~**~~**~~
Next I cut out a cicle using my Cameo to cover the backing of the clock...
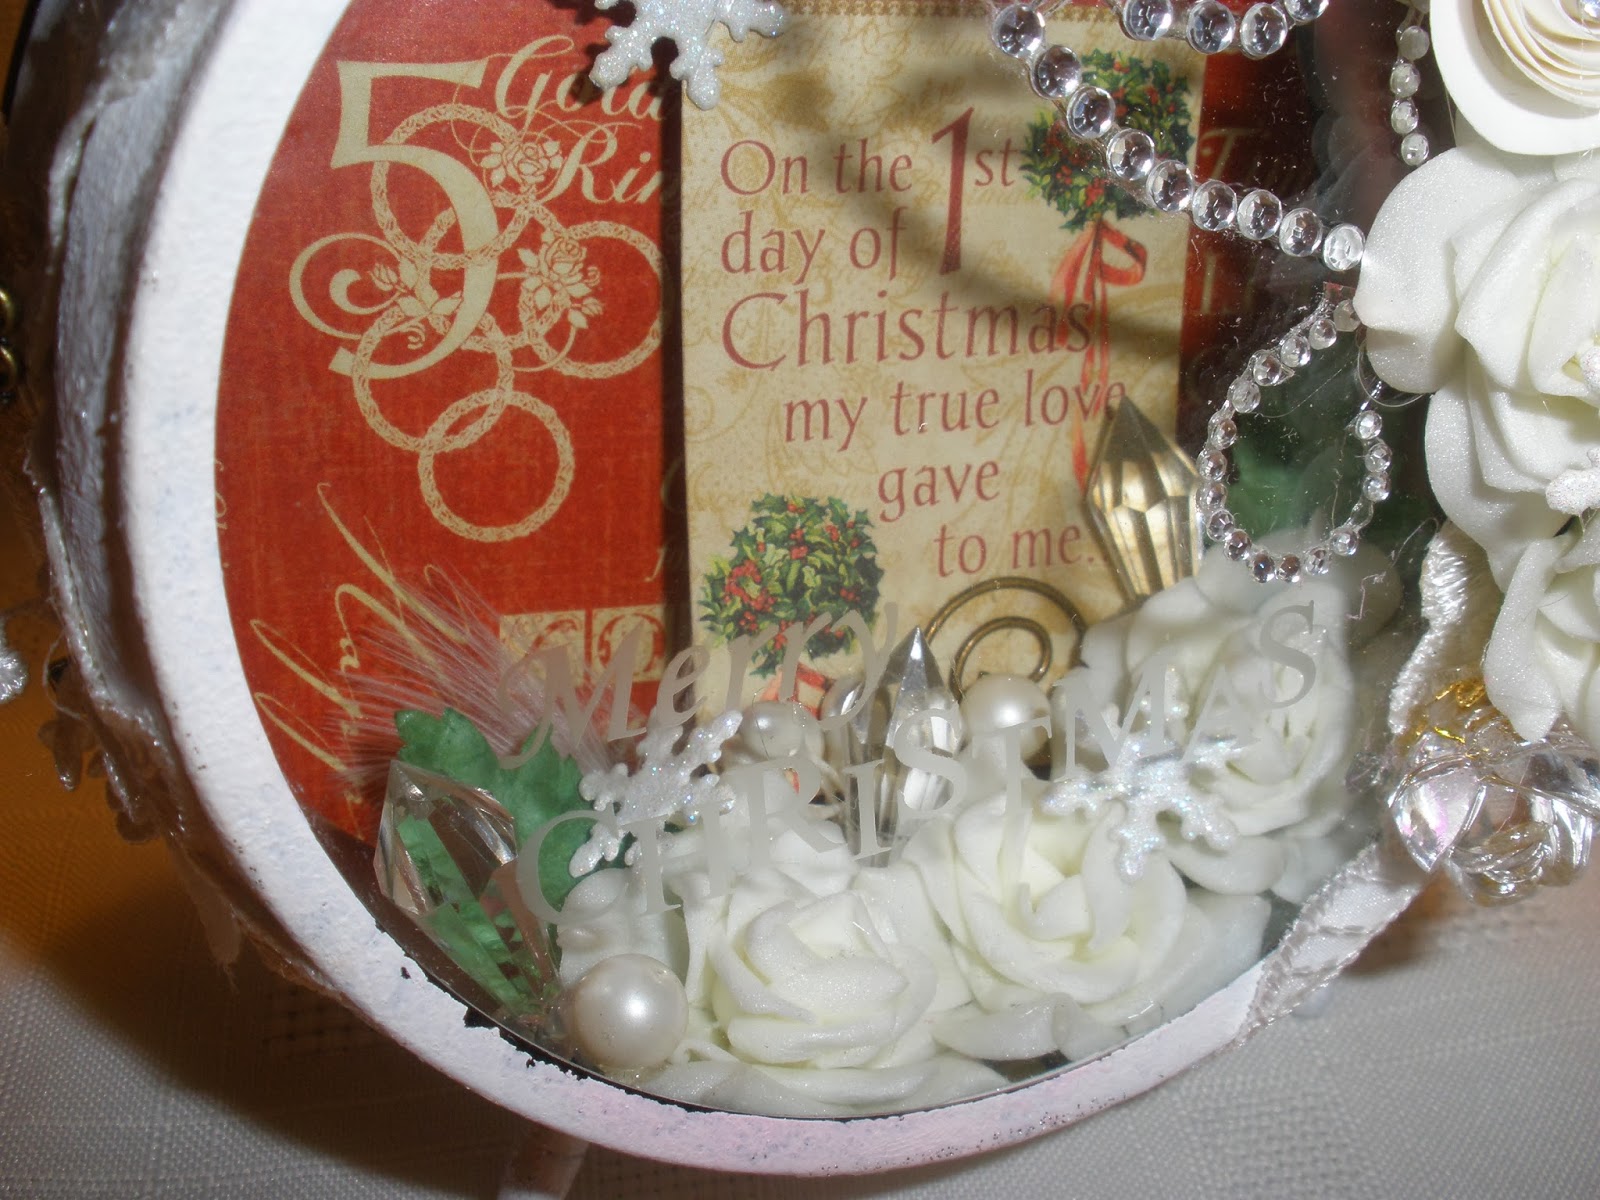
I used the CHRISTMAS ROSE sheet of Graphic 45 ...
then I glued it to the clock back. Then I gesso'd the entire clock


~~**~~**~~**~~
I used the beautiful applicades, feathers, lace, ribbon from Angela's Shabby Chic Kits.... and these AWESOME crystals which can be found at Miriam's Crafting Supplies.. roses, pearls, snowflake brads that I cut apart, a crystal rose, a rhinestone swirl and a cute paper flower my daughter made for me. I added a "diamond" to the center it, and I fussy cut a small oval shape from the collection and added it to the charm and placed the clear glass overlay over it to create a charm which all this was also in the Shabby Chic Kit!
Lastly I took and randomly just smeared silver glitter paint.
I choose the a tag from the tag and pocket sheet and
attached it to a fancy clip and hot glued it to the inside of the clock.


~~**~~**~~**~~
And there you have it... my Christmas Decoration!!!


Next up is my talented DT Sister Deb...
the complete line up is listed in case you get lost!!!
Thanks for joining us and stay tuned
for more awesome projects all week!!
Angela Holt ~ www.angelaholtdesigns.com
Rhonda M Bewley-Ratliff ~ http://www.flowersbyrhonda.blogspot.com/
Deb Ochs-Lagrone ~ http://alookthroughmyeye.blogspot.com
Nicky Wilcox ~ http://www.ladyjasmine.co.uk/
Stephanie Bargelski ~ http://stephaniescreativezone.blogspot.com/
Itza Gomez ~ http://www.itzathoughts.blogspot.com
~~**~~**~~**~~
Come on by and join in and be sure to check out The Bling Chronicles
{{{LIVE}}} USTREAM SHOWS on Monday's at 7:00p.m. CST
hosted by ANGELA HOLT & ANGELA HOLT DESIGNS
JOIN the The Bling Chronicles
brought to you by Angela Holt Designs.. a WONDERFUL
Crafting Comunity... check it out TODAY!!!
Visit Angela's NEW Store for easy shopping!!... and you can now
Subscribe to Angela's Shabby Chic Monthly Kits {{{HERE}}}...
these kits are AWESOME... they come JAM PACKED
with crafty goodness... order yours TODAY!!!
very beautiful one... all the embellishments are very nice fit in to it very well!
ReplyDelete-Berina
Moxie Craftie
What an absolutely stunning Christmas decoration, I would love to have this with my other decorations at Christmas. Hugs, Jen x
ReplyDeleteKrafty Keepsakes
This is lovely Rhonda !! liked this 'chic'absolutely adorable creation of yours, thanks for the step-by-step tutorial !!
ReplyDeleteHi Rhonda, Beautiful as always. hugs, Pam
ReplyDeleteI love the tutorial! I can see you doing that in a class! ;) What a beautiful clock!!
ReplyDeleteWOW - beautiful work, my friend. Thanks for sharing!
ReplyDeleteOh my word, this is absolutely fabulous. Thank you so much for the tutorial
ReplyDeleteWay to go Rhonda!!! Great project with multiple techniques. Loving this! Thanks for the great tutorial to go along with the project. Hugs my friend :)
ReplyDeleteA gorgeous clock what a fab idea xxx
ReplyDeleteWOWZA!!!! This is amazing and gorgeous! Thanks so much for all the information! Now to get up the courage to give it a try! eeekk!
ReplyDeleteThanks for inspiration!
Darlene
DAR'S CRAFTY CREATIONS
This is absolutely stunning!!!! Etchall and G45 will be proud to post this on their wall!!! I LOVE LOVE LOVE IT!!!
ReplyDeleteThat is simply beautiful <3
ReplyDeleteLOVE your BEAUTIFUL Christmas clock!!!!!!
ReplyDeleteAn absolutely amazing Christmas decoration. This is so pretty and inspirational and your photo step-by-step is brilliant, thank you x
ReplyDeleteJust truly amazed by how you made it..Fab..Speechless!!!
ReplyDeleteRhonda this is yummy Christmas goodness. the marriage of all these elements are brilliant. You are very talented.:)
ReplyDeleteThis comment has been removed by the author.
ReplyDeletewonderful... I luf it... thanks for the tip to rinse again after taking the stencil off! ..Shirley Major
ReplyDeleteGorgeous!! What a beautiful decoration for Christmas!! TFS!
ReplyDeleteWhat a creative and gorgeous idea. Brilliant.
ReplyDeleteThat, is, just, amazing!!! Wow, oh wow! Beautiful job! Great pics
ReplyDelete